When you purchase gear through links on our site, we may earn a small commission. Here’s why you can trust our tests and our affiliate partner.

TheKiteMag 54 Technique Armstrong Andrea and Peer 2 1200x800 - Technique: GETTING THE SHOT

Technique: GETTING THE SHOT

We had the great pleasure of meeting up with professional photographer Harry Winnington on Rhodos, Greece during our holidays this summer. Photoshoots are always a process, with many things to be considered and if needed adjusted during the photo session. Together with Harry’s experience and input, and our implementation, we have put together a winning formula of how to get the best results for your kite photos even if you don’t have a camera that’s worth $10k+! Let’s look at camera and shooting equipment, location, time of day, trick selection and posture during the trick, distance to the photographer, and creativity.

Riders: Andrea Zust and Peer Schnyder

THEKITEMAG ISSUE #54
PHOTOS: Harry Winnington
TheKiteMag 54 Technique Armstrong Andrea and Peer 1 - Technique: GETTING THE SHOT

Camera

People who own a fancy expensive camera usually know how to set it up for sport photography and the given light conditions. We are not going into camera setup details here – there are enough tutorials on YouTube or online classes for that. And you can say what you want, but usually the rule of “the more expensive the better” does apply a little here unfortunately. You can book your photoshoot with someone who has a camera and  offers this service, but if you have your own camera and want to organize your own shoot, make sure to protect your gear against water spray in some way. There are protective neoprene covers for cameras, or if you don’t have one of those you can always use a towel to wrap your camera in. However, it doesn’t mean that if you don’t have a professional camera that you can’t get the perfect shot! There is so much more to it than just the camera, so try focusing on the following points.

Location

Choose the location of the photoshoot wisely. There are several things to consider. Firstly, the photographer should feel comfortable while shooting. Usually the photographer is on land. However, you will be much more flexible if they are in the water with a water housing, or if you do not have this option, on a boat. Most kite spots worldwide offer boat rescue service and if you ask nicely you will find someone to take the photographer out onto the water for an hour or two.

As for the kite spot you choose, make sure that it’s not too busy when you do the shoot, both for safety reasons and because you don’t want too many other kiters in front of the lens or in the background of your photo. Keep your distance from any dangers such as rocks or reefs and don’t do the craziest tricks in shallow water. Yes, all the pros do it, but a broken leg is not worth it, trust us! If it is a crowded spot try finding a quieter place up- or downwind, or wait for a less busy time, for example early mornings and lunch time, or if you can foil go out when the wind is not strong enough for twintip and strapless riders.

It’s best if the photographer stands on the same line or downwind of the kiter, otherwise you only get photos of your back. If you want to do rotating tricks (backroll or frontroll with one-foot out or board-offs), then this doesn’t matter as much. Also, always make sure the spot you choose suits your riding style. Which tricks do you want to capture? Do you want flat water, waves or is chop fine as well?

Time of day

This depends on the location and where the photographer will be positioned. It’s usually the same problem for all kinds of water sports shoots. If you don’t have a boat or the photographer swimming in the water, they will be standing on land, taking photos from the same direction. And therefore, the most important consideration is the sun’s position. If the sun is too high it will shine light onto the kiter from above, casting shadows over their face, which you don’t want. If the sun shines from behind the kiter, you only see the silhouette. Ideally you want the light behind the photographer, shining onto the subject, to get the perfect shot, with the sun being lower in the sky. Depending on the spot, this is usually the case in the earlier morning or later afternoon. If you are not sure what the best time to do the shoot is, try doing a test day where you take some trial photos at different times during the day and check what time yields the best results. You want the face to be nicely visible with all its features but not too bright either. For sure it is possible to edit the photo later on, but it is harder to create a good picture out of a too bright or too dark one especially if the image resolution isn’t high enough because you use a simpler camera.

Tricks

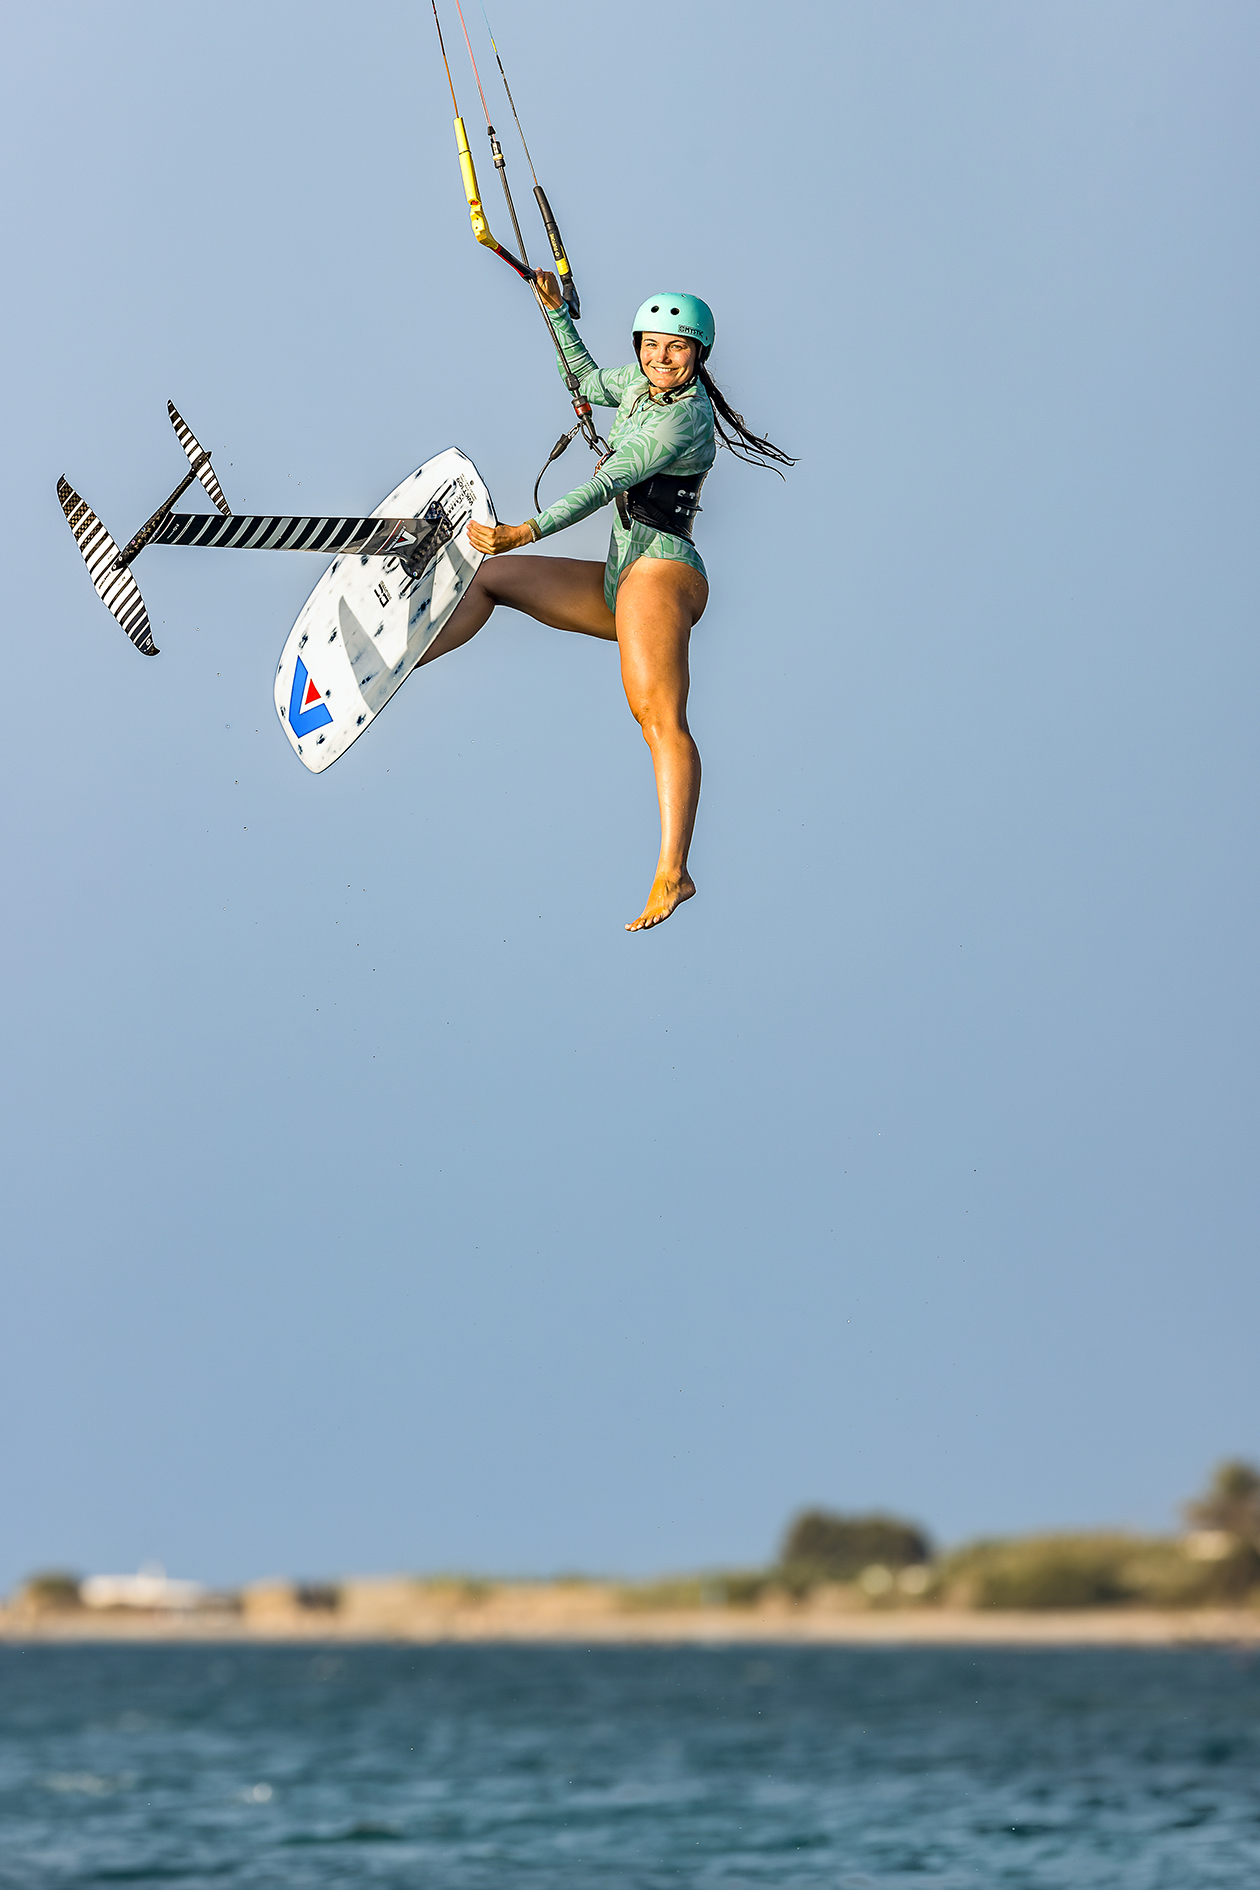
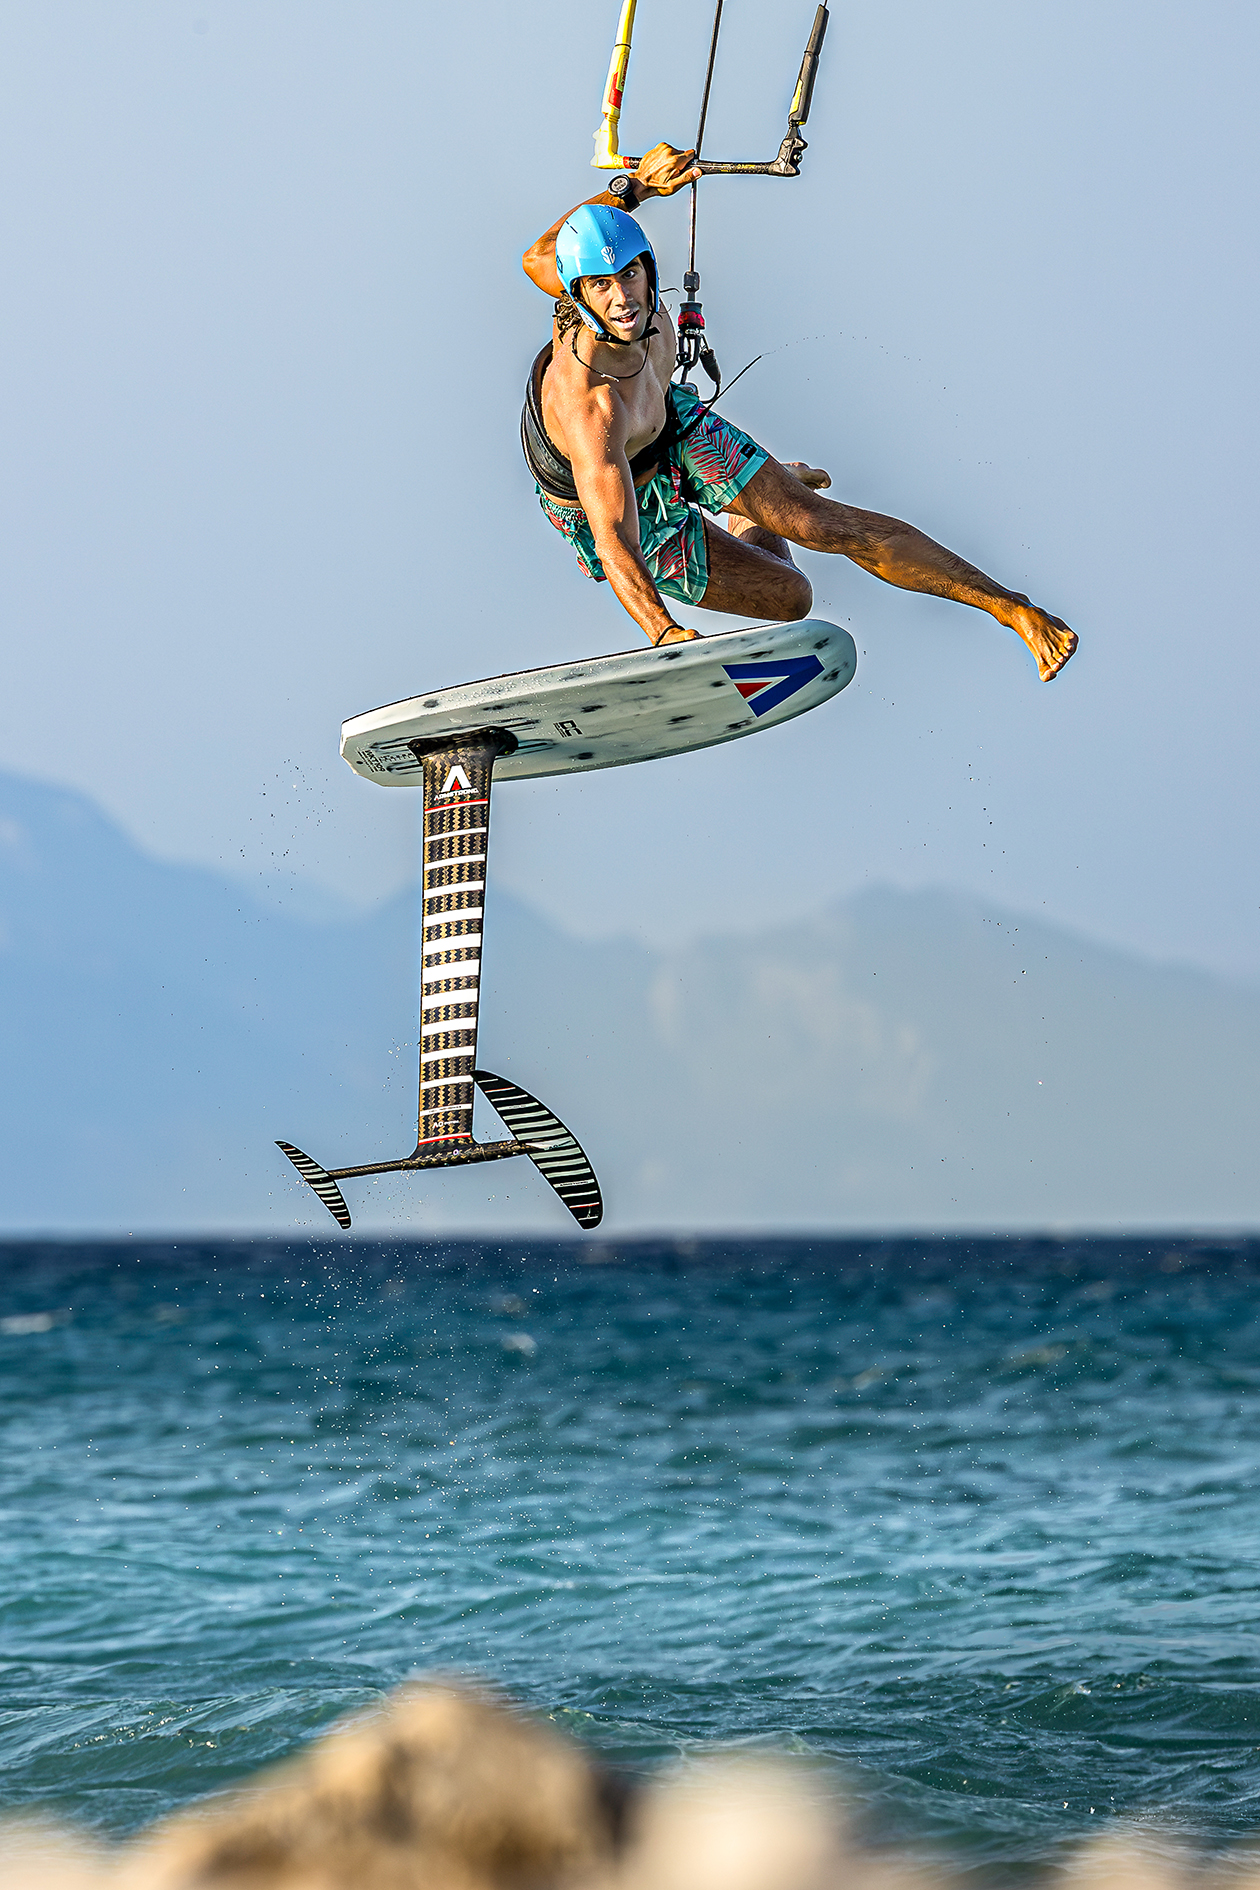
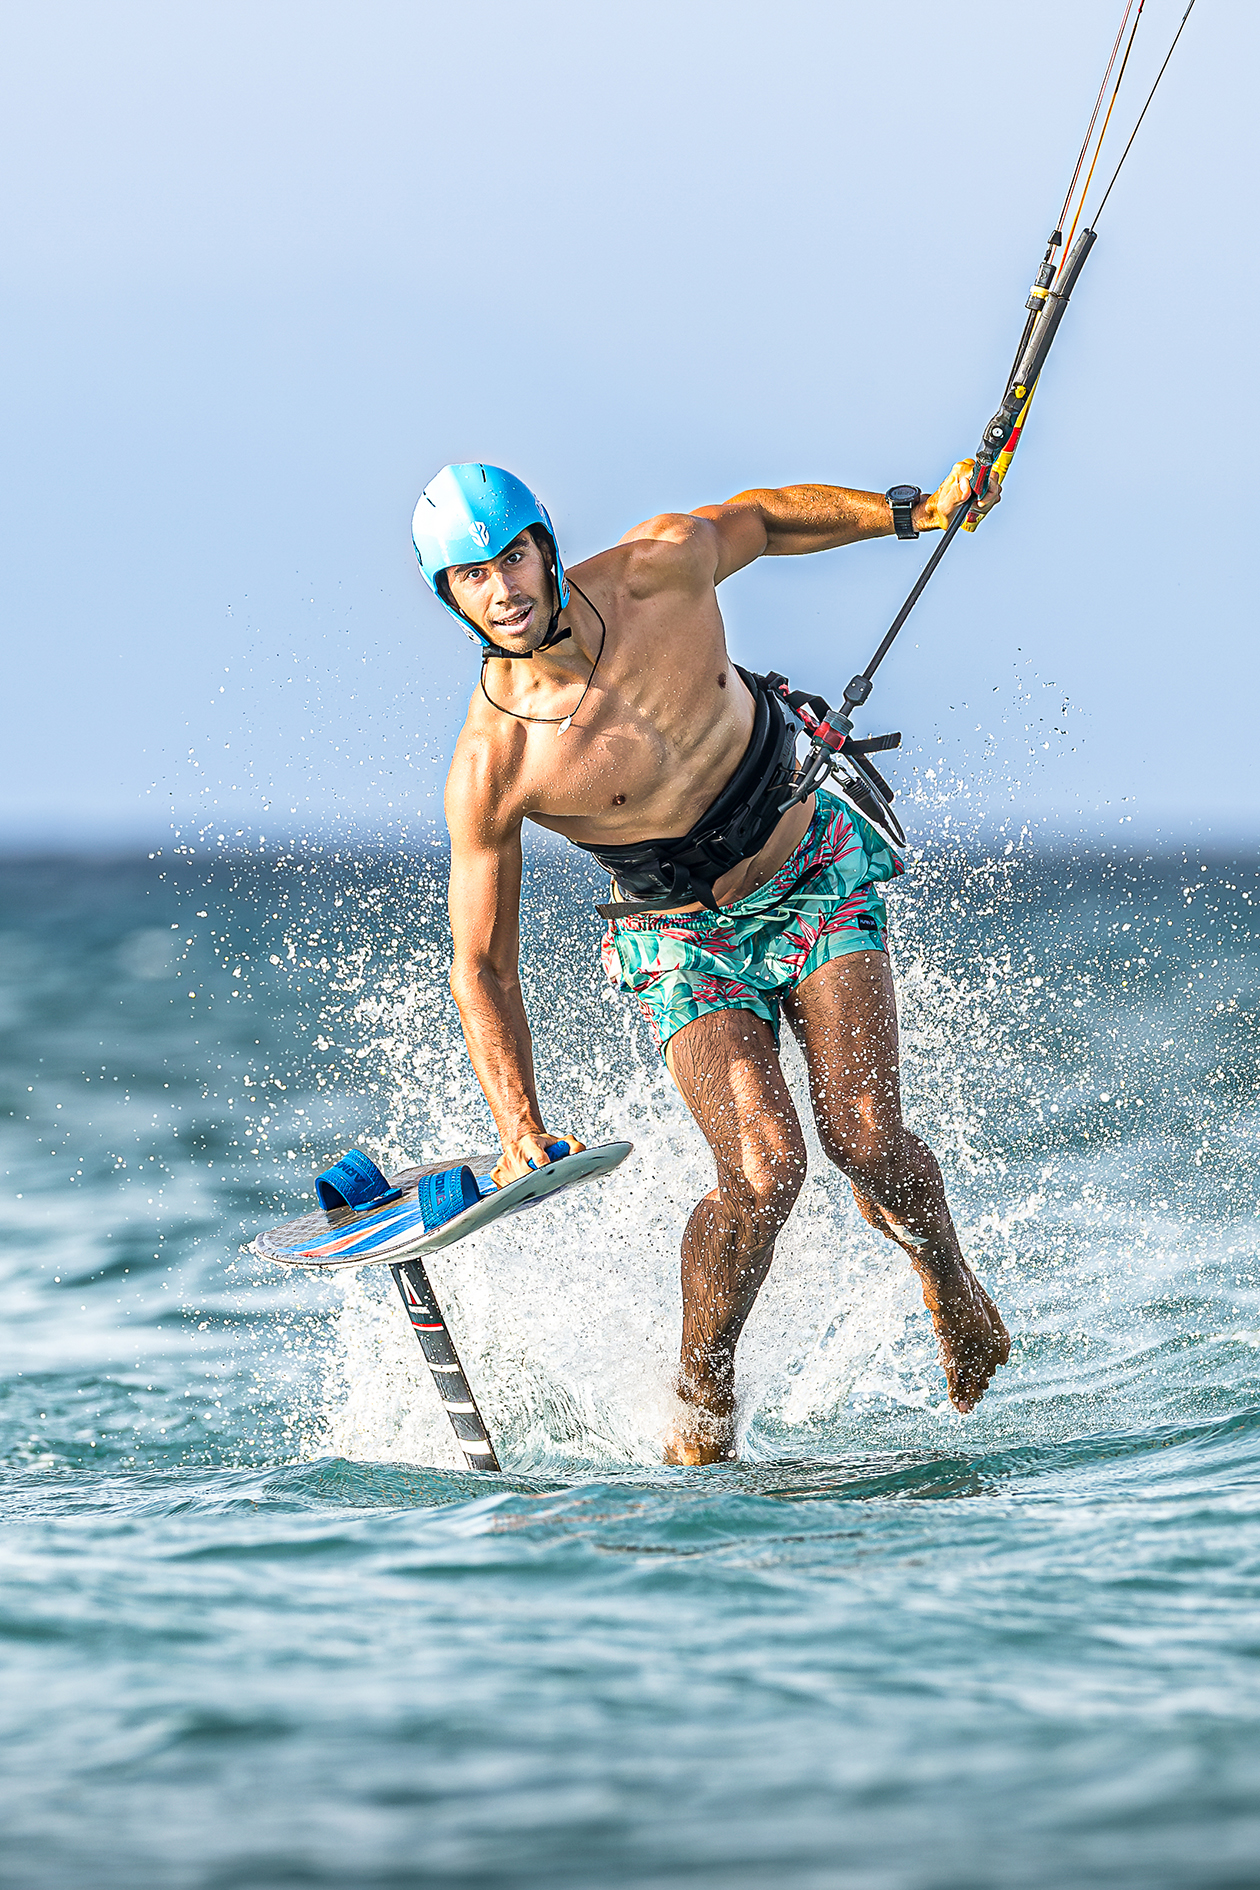
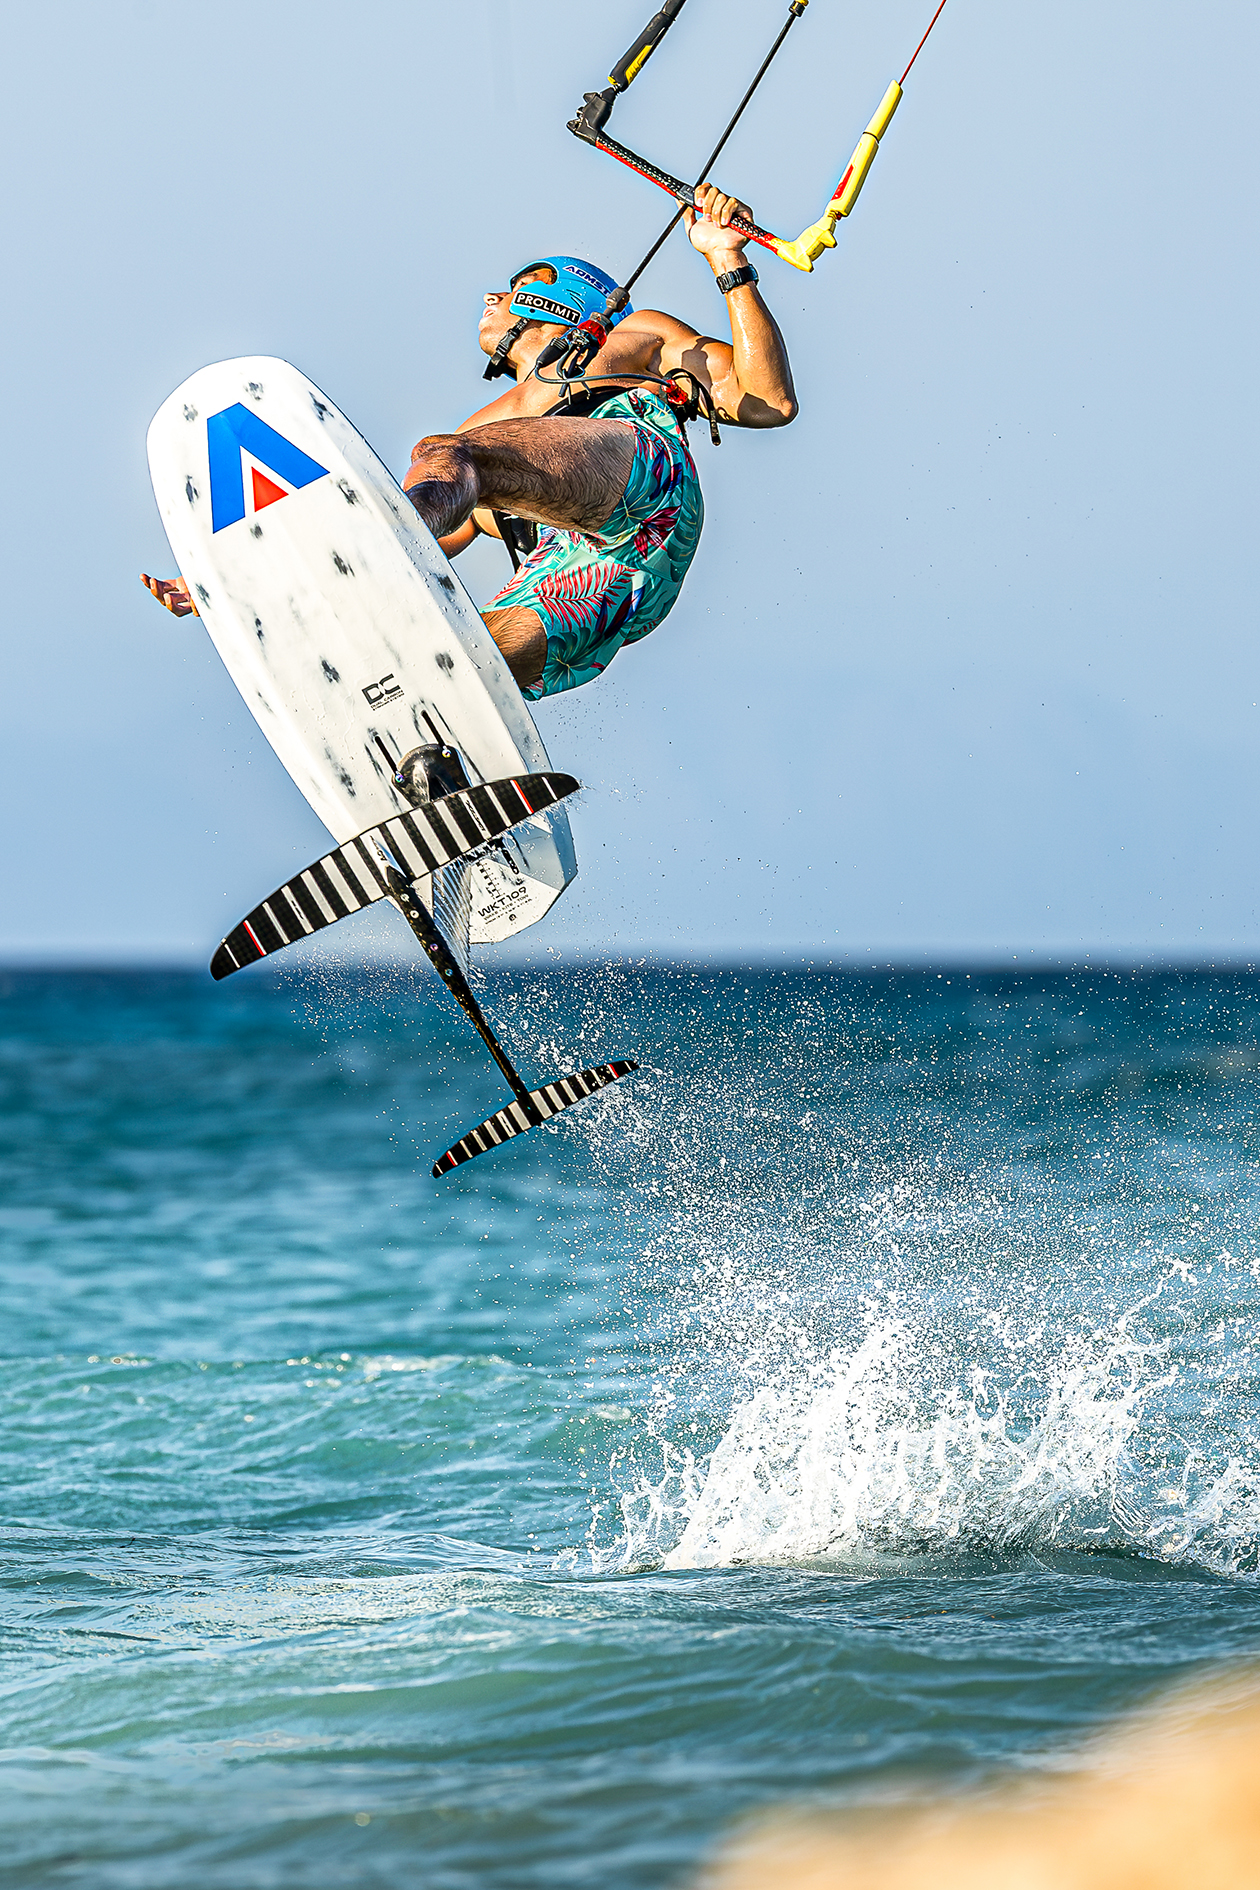
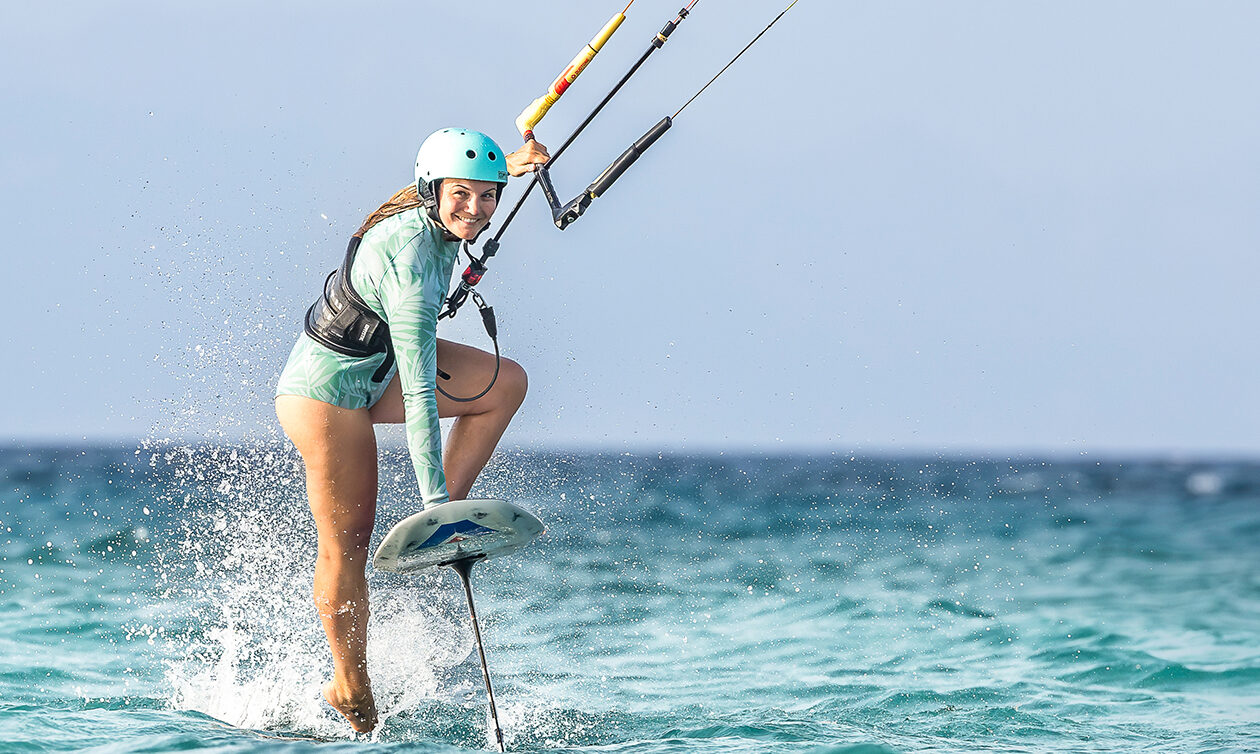
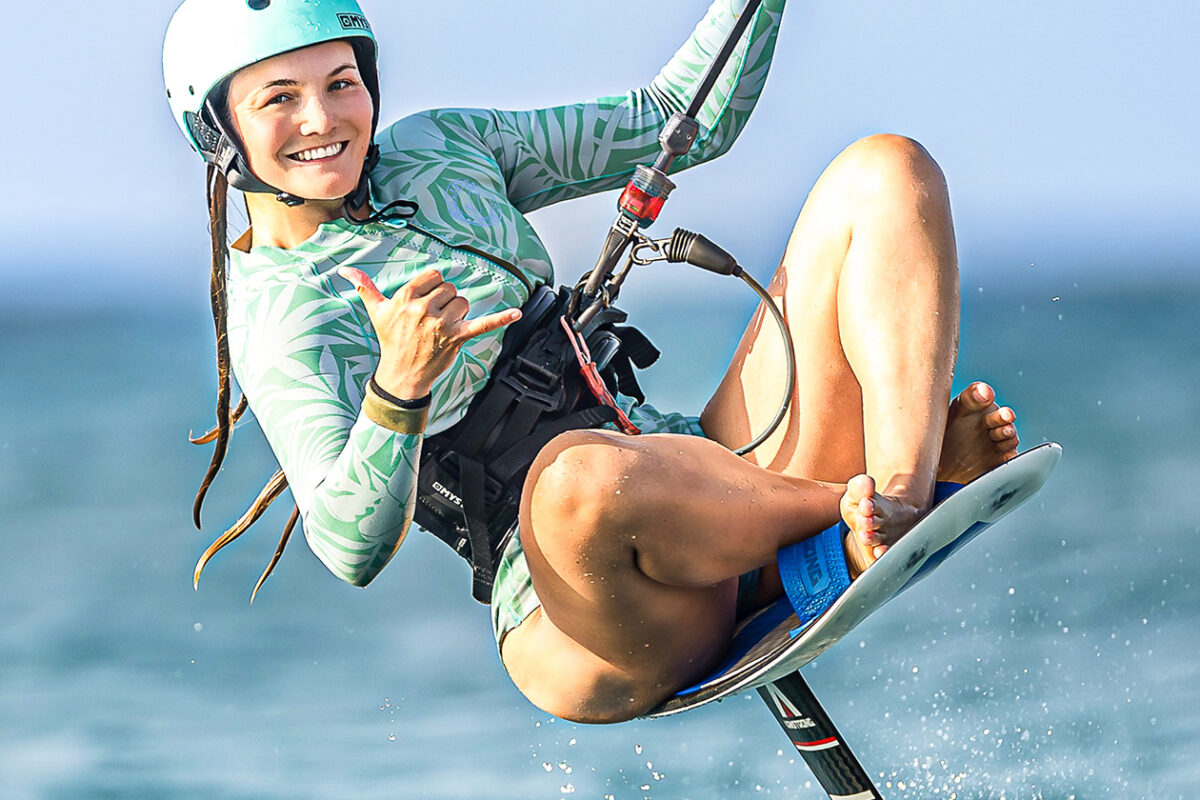
Show your coolest moves to the camera; do the tricks you love doing and you are proud of! The tricks that work best are all kinds of jumps with different grabs, one-footers or board-offs. It is also fun to do tricks at water level such as taking out one foot while riding, sitting on the board, dark slides, hand slides, or just cruising in a relaxed manner with only one hand on the bar. We found that simple rotation jumps (backroll or frontroll) aren’t the best because you can’t see the actual rotation itself in a photo, however rotation jumps with variety such as taking out a foot or doing a board-off work very well. You don’t need to do crazy high jumps for good photos, rather focus on the trick itself than the height. An important point for the rider to remember is to look into or at least towards the camera and have a smile on your face despite focusing on the trick.

Remember, a photo is just a snapshot of the moment, so technically you don’t have to focus on the landing part. It’s better to concentrate on your posture and facial expression when you’re doing your trick than to worry about landing the trick. And of course, also stay concentrated and aware of your surroundings. It is easy to forget about other kiters and hazards when focusing on the camera. Do your tricks safely, don’t jump with people downwind of you and don’t harm your photographer. But do try to get as close to the camera as you can without putting anyone in danger

TheKiteMag 54 Technique Armstrong Andrea and Peer 4 - Technique: GETTING THE SHOT
TheKiteMag 54 Technique Armstrong Andrea and Peer 5 - Technique: GETTING THE SHOT
TheKiteMag 54 Technique Armstrong Andrea and Peer 3 - Technique: GETTING THE SHOT
TheKiteMag 54 Technique Armstrong Andrea and Peer 6 1260x754 - Technique: GETTING THE SHOT

Distance

How far away from the photographer should you jump? For this you have to decide if you want a close-up of just yourself or if you want the water to be visible to see how high the jump is. If you have multiple lenses for your camera you can choose the lens accordingly. Best is to do a trial run before you begin and define a sign language between kiter and photographer. The photographer should then give directions to the kiter whether to come closer or jump further away.

Be creative

Try making your photos as interesting as possible. Go for different angles and backgrounds. Is there something interesting on the beach or in the water that you can get into the foreground such as a boat or rocks? Is there an interesting tree somewhere that could mix it up? Take photos from a standing position and also from the ground up.

Have fun!

Do what you love doing and don’t force it! Take your time. If you’re not feeling it or are unhappy with the results, take a deep breath, a break and try again another day. As with everything, it takes practice and a little experience to get the best results.

Want More?

You can get the latest goodness from the world of kiteboarding by subscribing to our print edition. You'll get 5 packed issues, plus a free tee and free digital access. And you'll be directly helping with our sustainability efforts too!

Check it out now
Subscribe Today